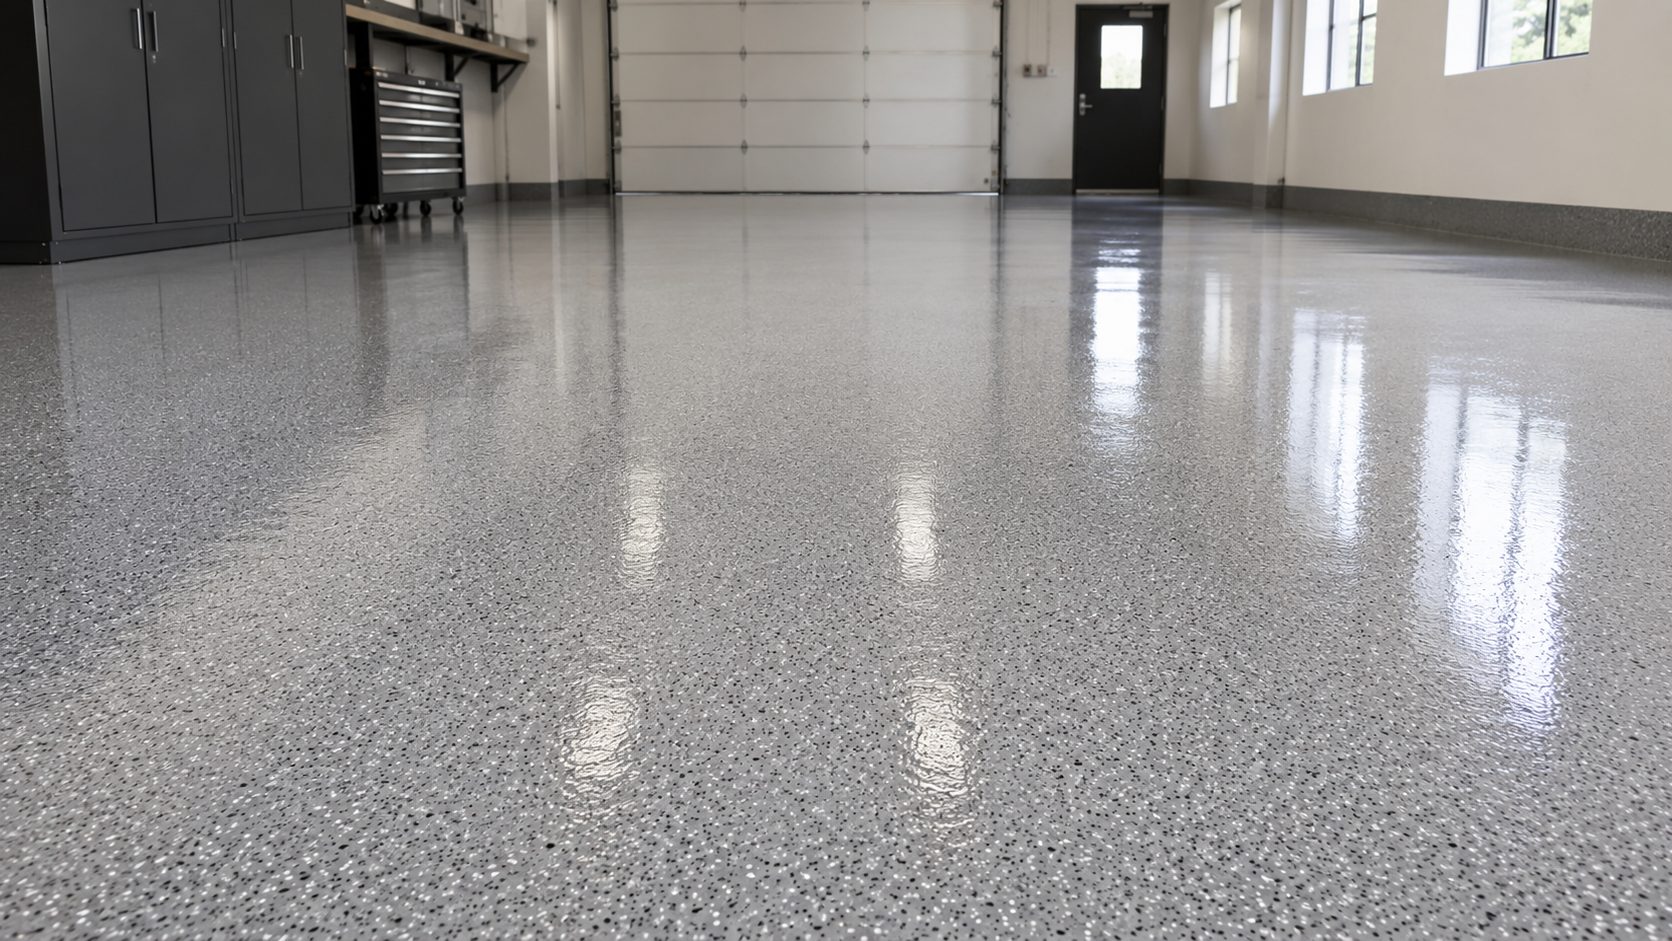
What Actually Happens During an Epoxy Floor Installation
If you are considering upgrading your garage, shop, or commercial concrete, you may be wondering what really happens during an epoxy floor installation. Many people assume it is similar to rolling paint onto a surface. In reality, a professional epoxy system is a structured, multi-stage process built around durability and long-term performance. At NES Flooring, we focus on floors that hold up under Texas conditions, not quick cosmetic fixes.
Here is what actually takes place from the first inspection to final cure.
The Real Process Behind a Durable Epoxy Floor System
Epoxy flooring is a resin-based system that chemically bonds to properly prepared concrete. The strength of that bond determines how well the floor performs under vehicle traffic, equipment use, and daily wear. The majority of the work happens before the coating ever touches the slab.
A professional installation involves evaluating the concrete, mechanically preparing the surface, repairing defects, applying layered coatings, and allowing proper cure time. Each step directly impacts how long the floor lasts and how well it resists peeling, hot tire pickup, and surface failure.
Why Surface Preparation Is the Most Important Stage
In Texas, concrete expands and contracts with temperature changes. Garages deal with hot tires, oil drips, and heavy weight. Commercial facilities may have forklifts, rolling loads, and constant foot traffic. If epoxy is applied over improperly prepared concrete, it will eventually fail.
Durability starts with preparation. The concrete must be opened up to accept the coating. Contaminants must be removed. Weak or damaged areas must be repaired. Skipping or rushing preparation is the most common reason epoxy floors peel or bubble.
At NES Flooring, preparation is never treated as a shortcut step. It is the foundation of the entire system.
Step One - Concrete Inspection and Evaluation
Every installation begins with a detailed assessment of the existing slab. No two concrete floors are identical. Some may have old paint or coatings. Others may have oil stains, surface damage, or hairline cracking. In certain cases, moisture within the slab must also be considered.
During this evaluation, we determine whether the surface is structurally sound, whether previous coatings must be removed, and what type of epoxy system best fits the space. This allows us to build a system around the condition of your concrete rather than applying a generic approach.
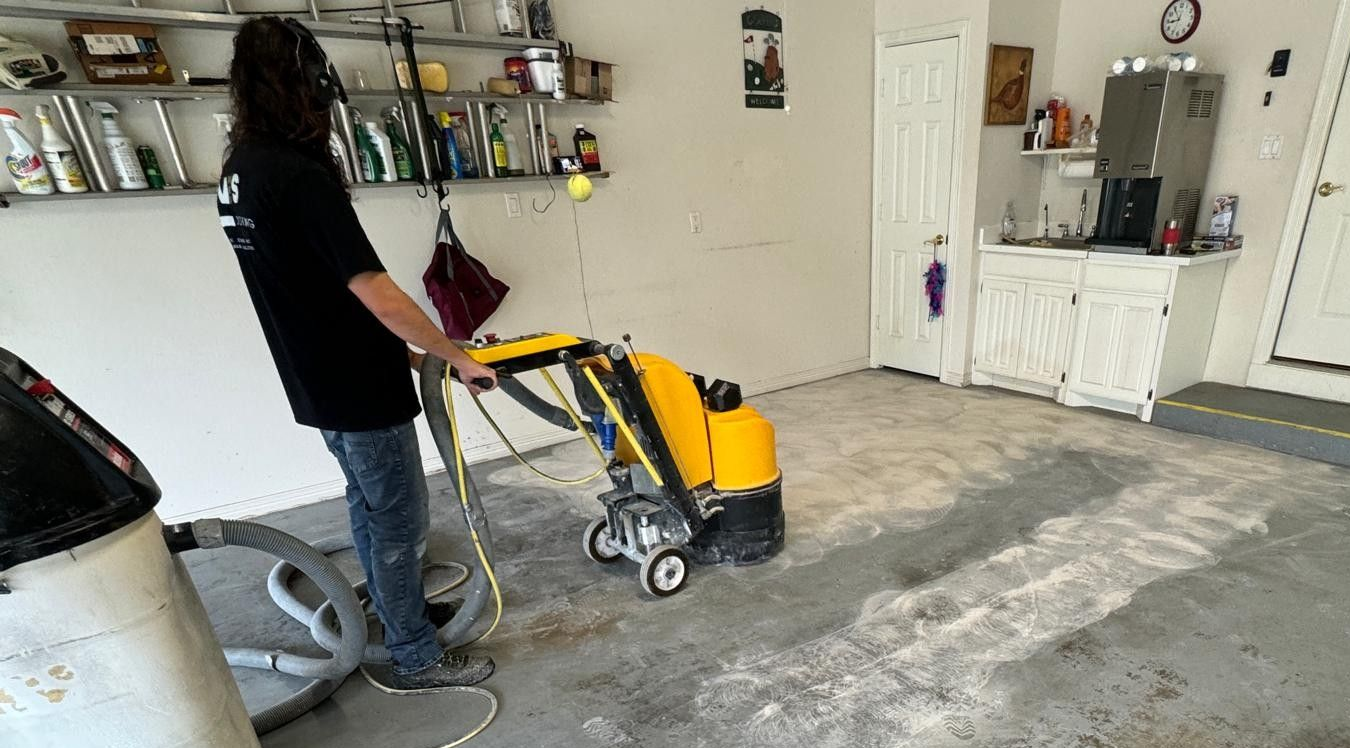
Step Two - Mechanical Grinding of the Concrete Surface
Mechanical grinding is the most critical part of professional epoxy installation. Industrial grinding equipment is used to remove surface contaminants and create a textured profile that allows the epoxy to bond directly to the slab.
This process opens the pores of the concrete and removes weak surface layers. It also eliminates old coatings and prepares the floor to accept the base coat evenly. Acid washing or light sanding does not provide the same adhesion profile as professional grinding. The bond created during this step determines the long-term success of the floor.
Step Three - Crack Repair and Surface Correction
Once the slab is ground, imperfections become more visible. Cracks, small pits, and surface damage are repaired using specialized fillers designed to move with the concrete. This prevents future separation and eliminates weak points beneath the coating.
Proper repair work ensures the finished floor is smooth, structurally stable, and ready to support a continuous epoxy layer. Rushing this stage can lead to visible defects or performance issues later.
Step Four - Detailed Cleaning Before Coating Application
After grinding and repairs are complete, the floor must be thoroughly cleaned. Industrial vacuum systems remove dust and debris to ensure nothing interferes with adhesion. Even fine particles can compromise bonding if left behind.
A clean, properly profiled surface is essential before moving to the coating phase.
Step Five - Application of the Epoxy Base Coat
With the surface fully prepared, the epoxy base coat is applied. This layer penetrates into the concrete and begins forming the bonded system. The application must be even and consistent to avoid thin areas or uneven curing.
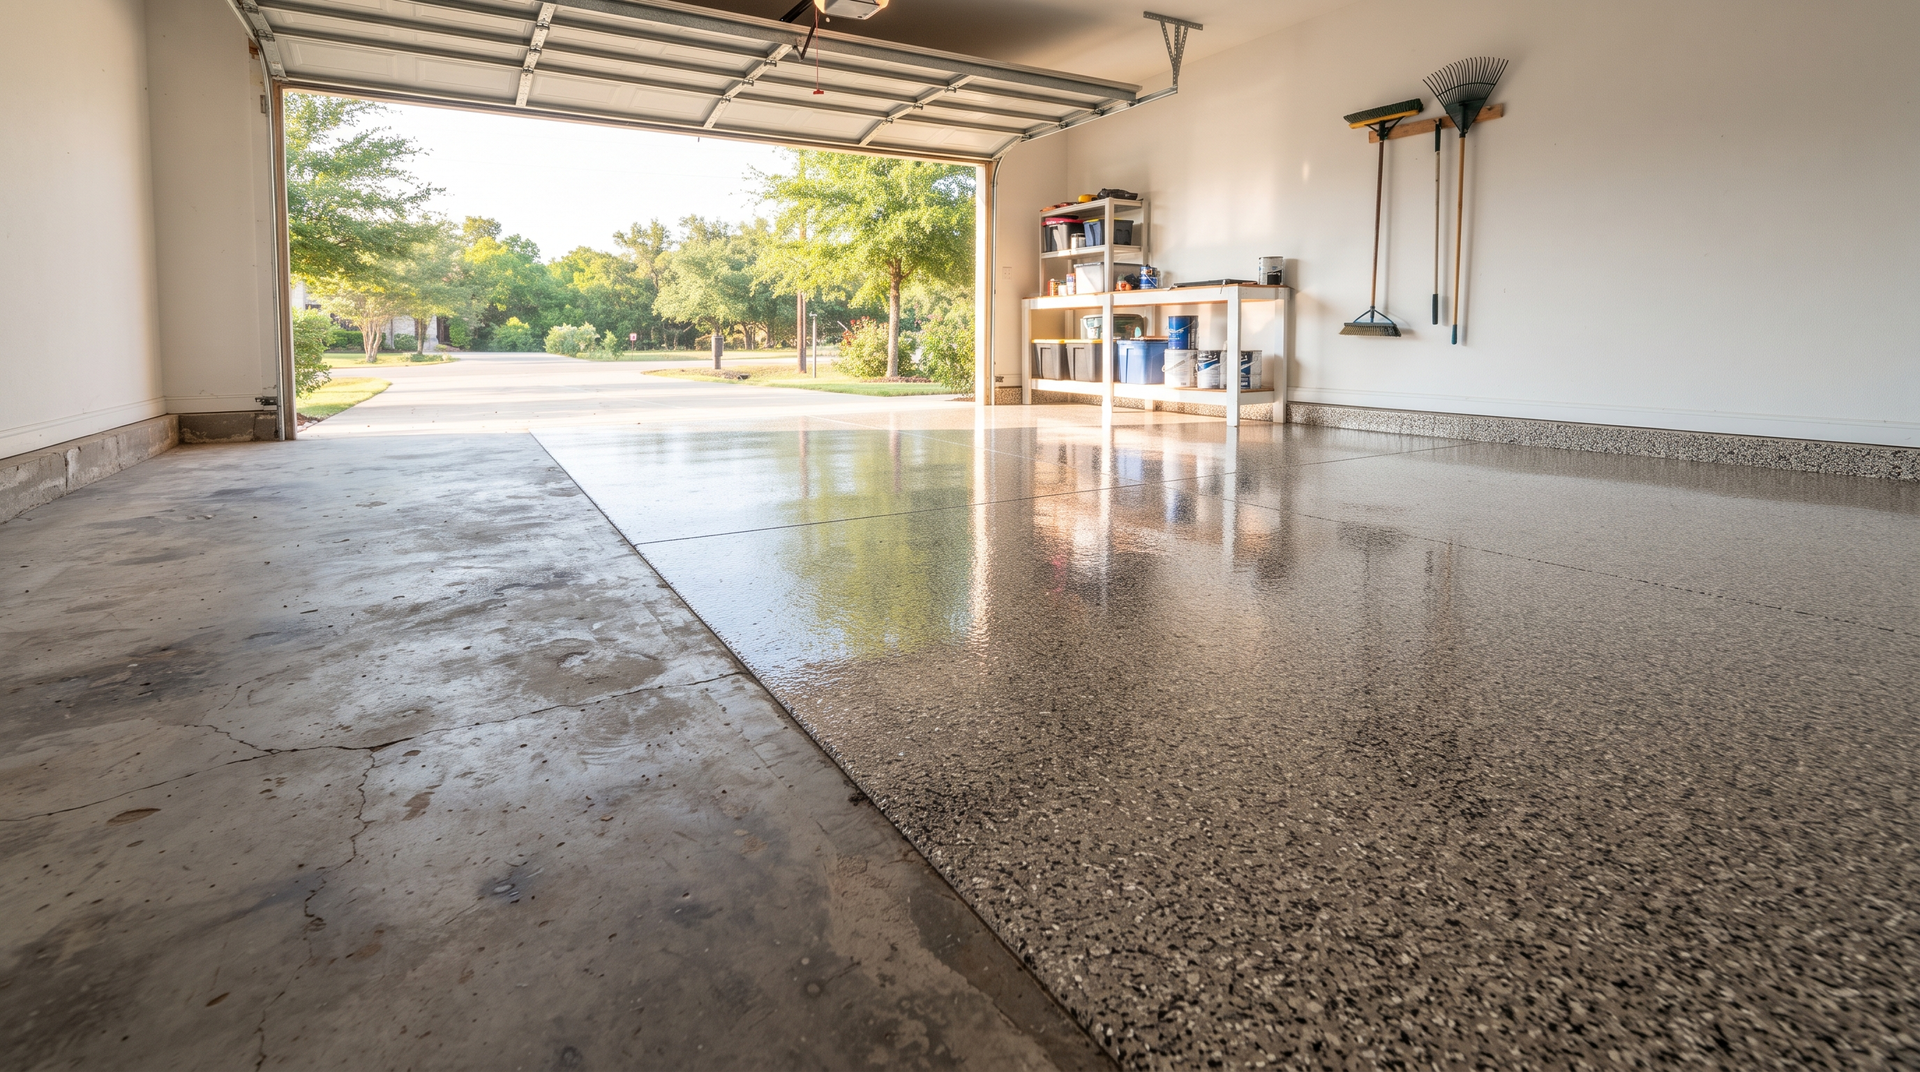
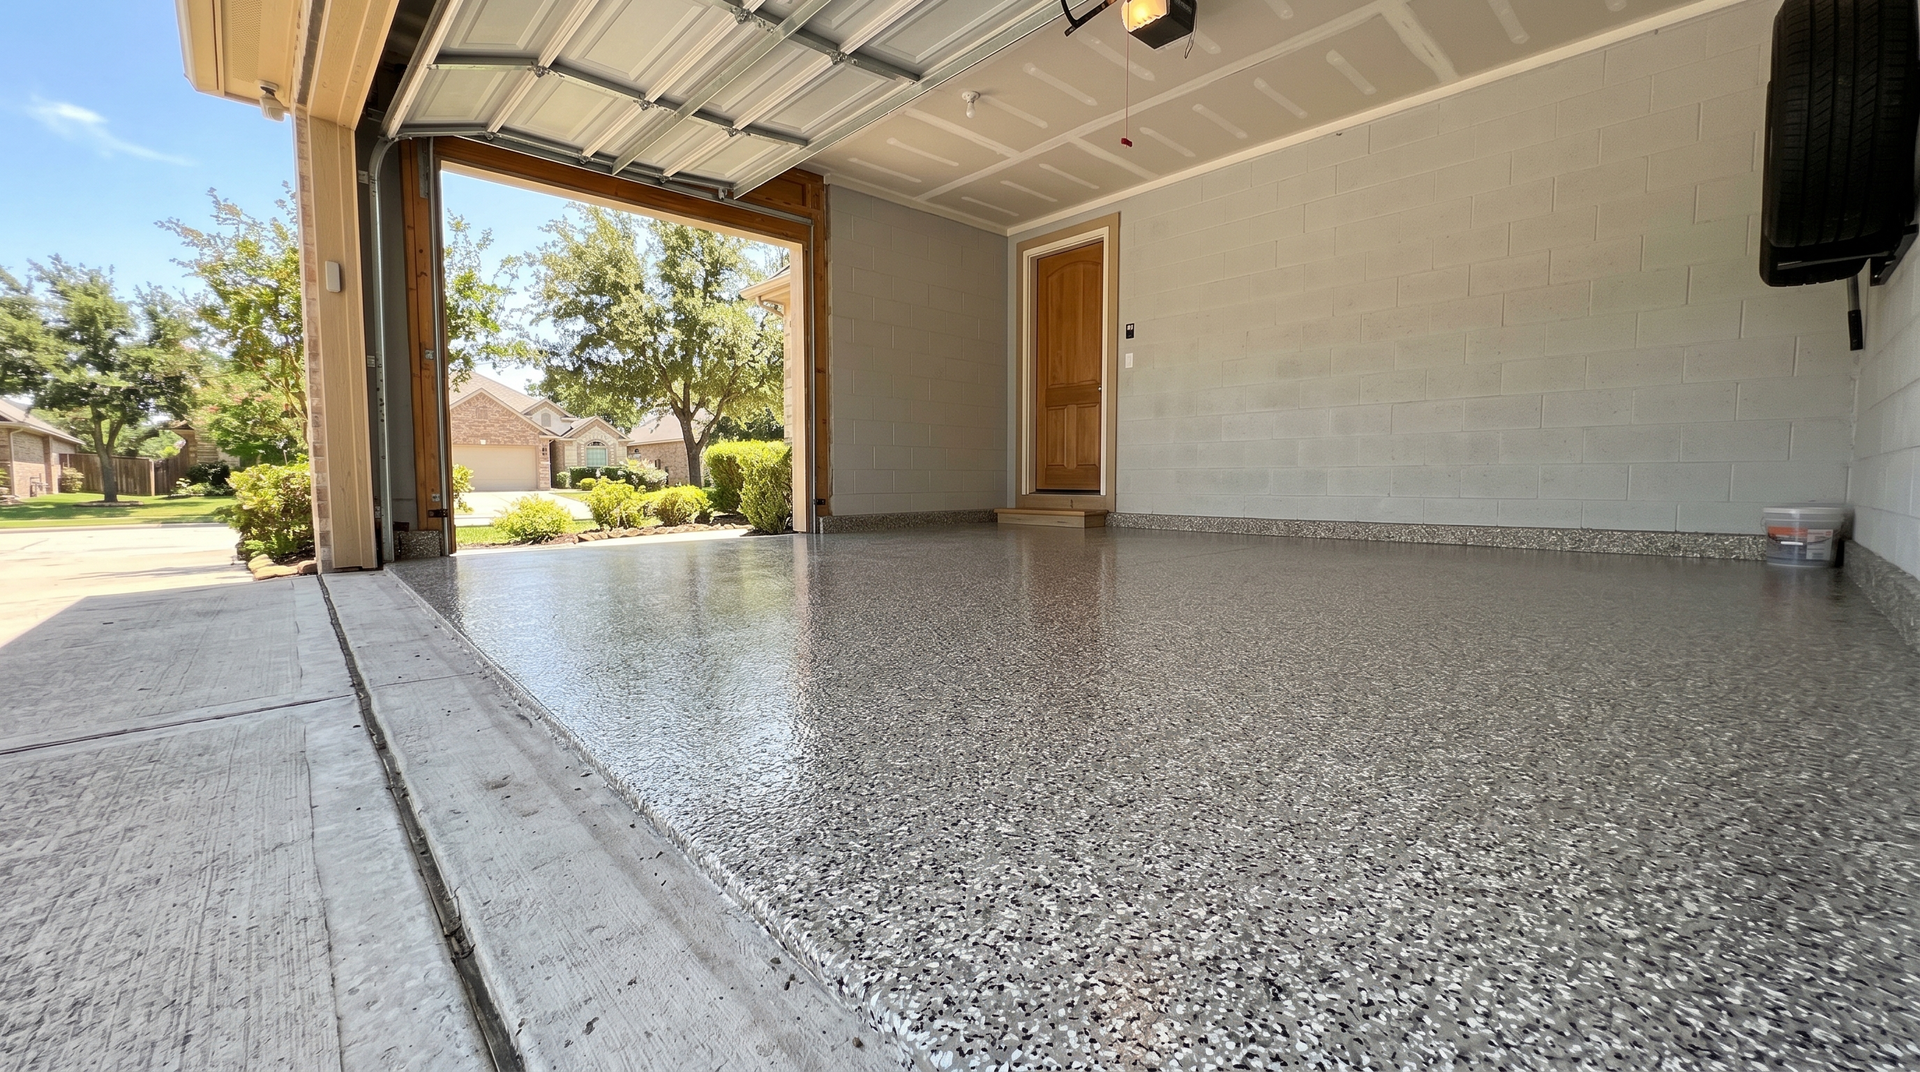
Depending on the space, the base coat may be installed as a solid color system or used as the foundation for a textured broadcast layer. In garages and workspaces, added texture often improves slip resistance and wear performance.
Optional Broadcast Layer for Added Strength and Texture
In many residential and commercial settings, a decorative or texture broadcast is applied into the wet base coat. This layer enhances durability while also creating a more uniform appearance. It helps disguise minor surface variations and adds traction in high-use areas.
While not every project requires a broadcast layer, it is a popular choice for garages and light commercial spaces where performance matters.
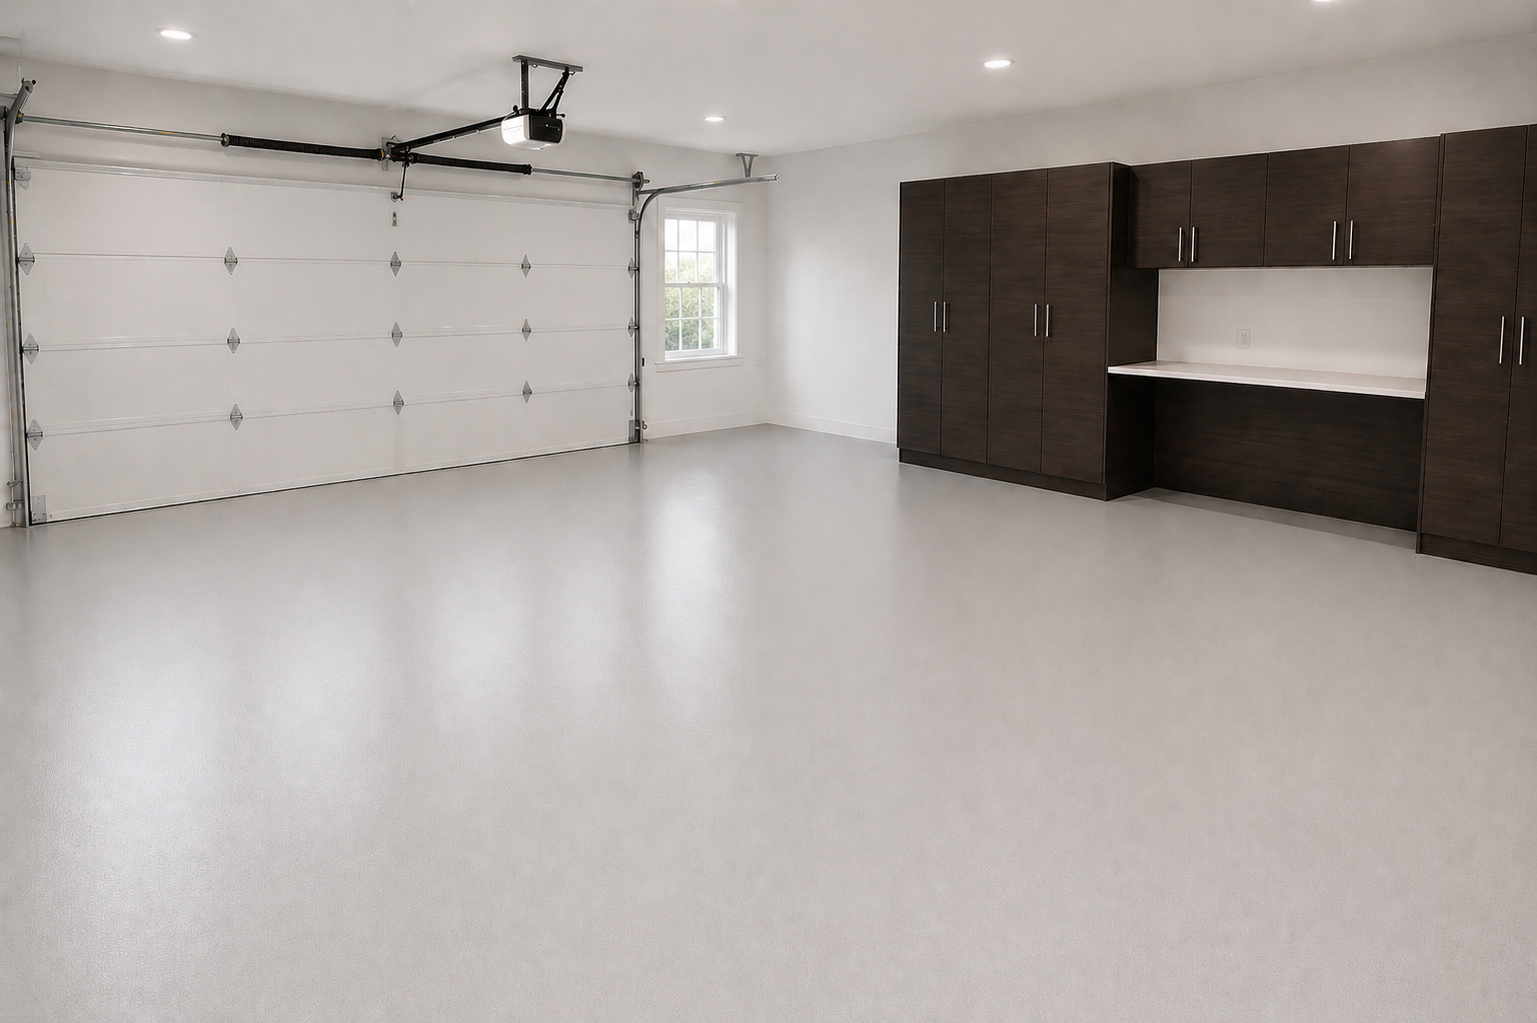
Step Six - Protective Topcoat for Long-Term Performance
The final stage is the application of a protective topcoat. This layer seals the system and provides resistance against abrasion, chemicals, and daily wear. It also improves cleanability, making maintenance simple over time.
A properly installed topcoat increases the lifespan of the system and protects the investment made in the earlier preparation steps.
Curing Time and Returning to Service
Once installation is complete, the floor must cure properly. While light foot traffic may be allowed within about a day, vehicle traffic typically requires several days depending on the system used. Allowing full cure time ensures the coating reaches maximum hardness and chemical resistance.
Rushing this stage can compromise the integrity of the finished surface.
Common Problems Caused by Improper Installation
When epoxy is installed without proper preparation or correct product thickness, problems can develop. Peeling, bubbling, uneven texture, and premature wear are usually tied to shortcuts taken during grinding or cleaning. These failures are not caused by epoxy itself but by poor installation practices.
That is why experience and equipment matter. A durable epoxy floor is the result of disciplined preparation and precise application.
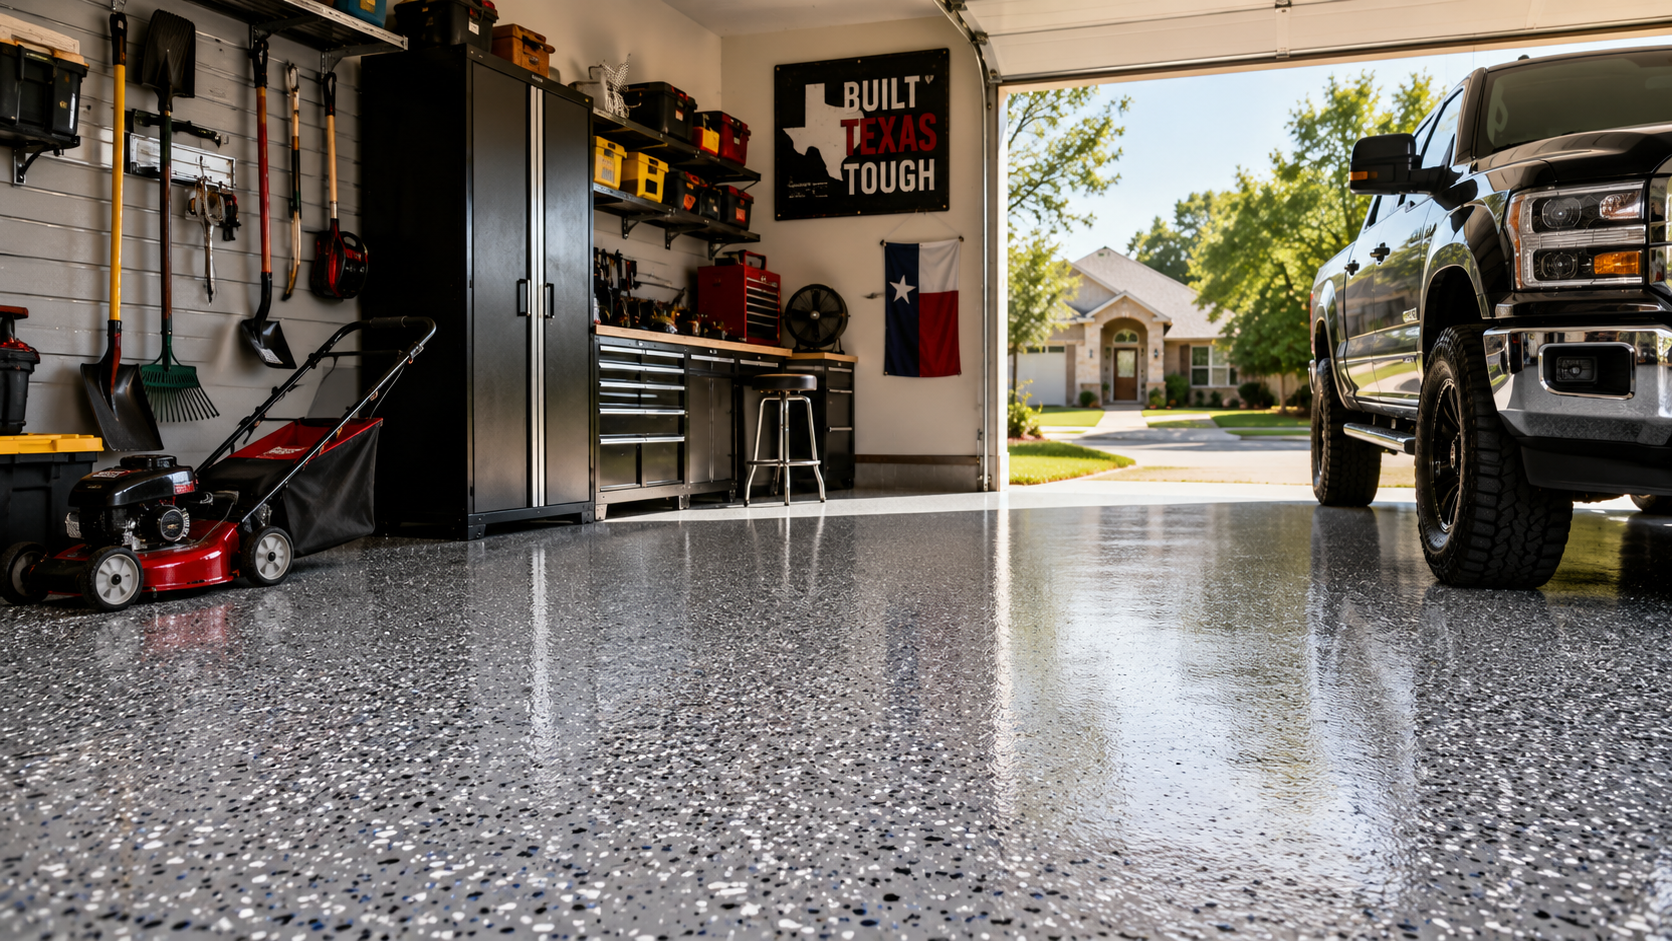
Who Should Consider Epoxy Flooring
Epoxy systems are ideal for homeowners upgrading garage floors, commercial property owners seeking durable surfaces, and facilities that require easy-to-clean flooring. If your concrete needs protection from traffic, impact, or spills, epoxy provides a long-lasting solution when installed correctly.
What Professional Installation Looks Like at NES Flooring
At NES Flooring, we focus on durable results. We do not offer metallic, custom art, or grind-and-seal systems. Our priority is building high-performance epoxy floors that hold up under real-world Texas use. That means investing time in mechanical preparation, using quality materials, and following proper cure schedules.
We approach every project with the goal of long-term performance rather than short-term appearance.
Ready to Upgrade Your Concrete the Right Way
Understanding what actually happens during an epoxy floor installation helps you see the difference between a quick coating and a professional system. When installed properly, epoxy becomes a protective layer that strengthens your concrete and improves usability for years.
If you are ready for a durable, professionally installed epoxy floor built for Texas conditions, contact NES Flooring today to schedule your evaluation and get started.
Ready to work with NES Flooring?
Let's connect! We’re here to help.
Send us a message and we’ll be in touch.
Or give us a call today at 817-668-5051
More from NES Flooring: